 CALL SALES: 518-797-3791
CALL SALES
CALL SALES: 518-797-3791
CALL SALES
How to Install Hose or Cable on a Retractable Reel
Posted on 02/09/2021
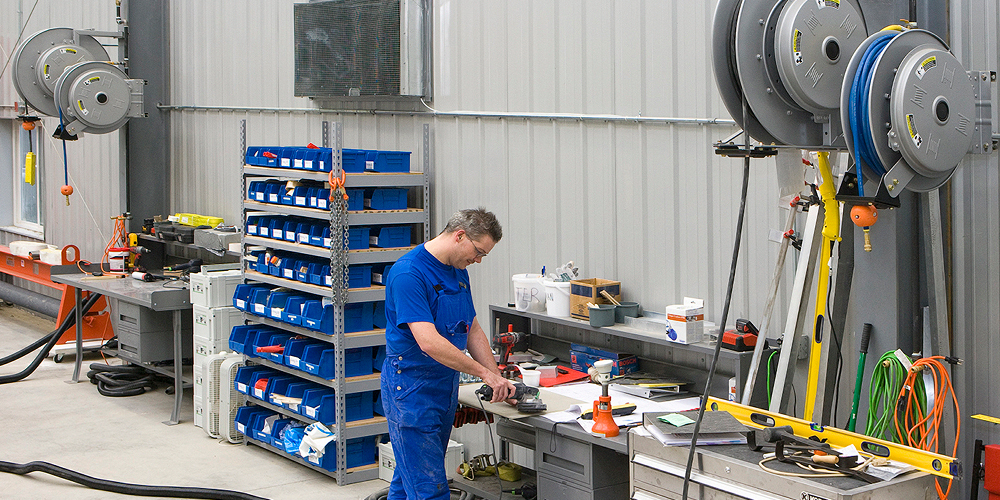
Your new retractable hose reel has just been delivered and you’re ready to put it to work. First things first, you need to install the hose or cable onto the reel. The experts at Hannay have made that simple to do. For hose installation, just follow along with the steps highlighted below or watch our video at the bottom of the page.
For cable reels the process is virtually the same, please refer to the link at the bottom of this blog: Install Hose or Cable on a Retractable Reel – Official Installation Guide for specifics relating to cable installation.
What You’ll Need
Make sure you have the right tools to get the job done. You’ll need the following:
- Appropriate hose for your air or liquid application
- Hose stop correctly sized for your hose diameter
- Open-end wrench (Expert tip: a crow’s foot wrench works best)
- Phillips head screwdriver
- Teflon tape for the hose fitting
Let’s Get Started
1. Install the hose
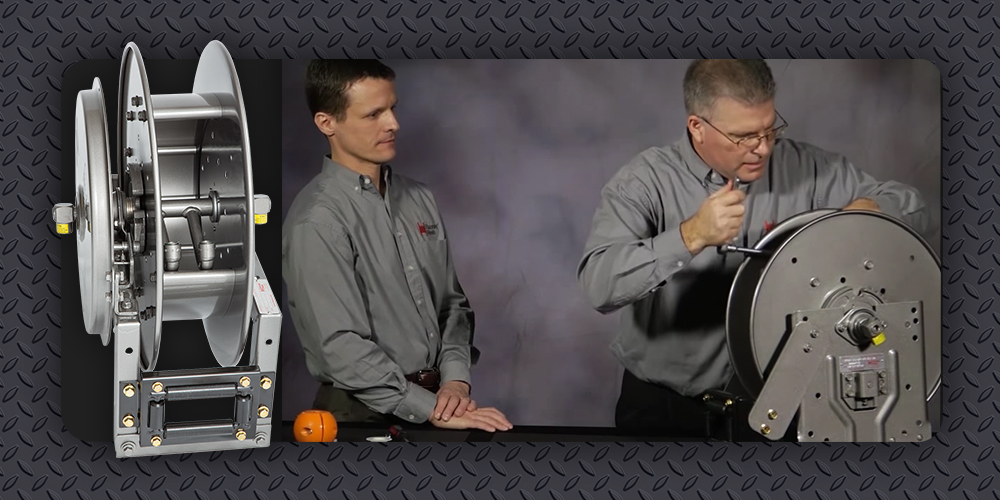
To safely install your hose be sure the spring tension is relaxed before starting. Apply 2-3 wraps of Teflon tape to the hose thread, then hand thread the hose onto the outlet riser to get it started. Next, you’ll want to take your open-end wrench and tighten everything up to secure the connection.
2. Wind it up
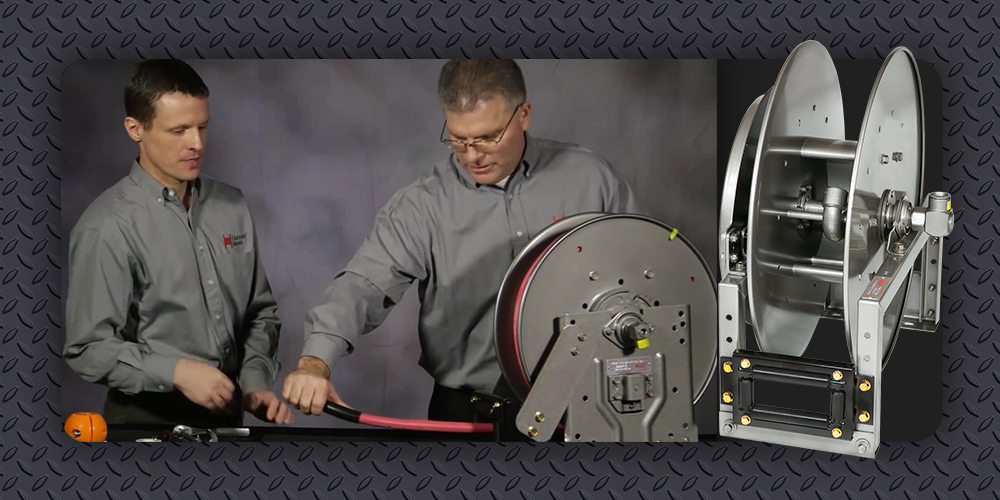
Now it’s time to wind up the spool. It’s important to know your model number and the amount of working turns it calls for. You can find that information in the document that came with your warranty or at the “Official Installation Guide” below.
You’ll want to keep track of how many full working turns it takes to put the entire hose on the reel. (Expert tip: You can use a piece of tape as a guide to mark each revolution.)
Note the direction you are turning the reel. If you notice any torque or resistance during this process, you are turning the reel in the wrong direction. Refer to the installation guide or video for more information on the proper direction. Once you have installed all the hose onto the reel, note the number of turns it took.
If you have reached the number of available turns according to the chart for the spring you have, the hose is properly tensioned and you can proceed to the next step.
If the number of turns was less than the available turns, you will need to add the remaining turns to the reel in the opposite direction to set tension to the reel.
For example, if your Model J reel calls for 17 working turns but it only took 14 turns to get the entire hose on the reel, you’ll want to unwind the reel 3 more times in the opposite direction to add tension.
Be careful to hold onto the hose so that it stays on the reel during this process. You may notice some tension building up during the extra turns.
CAUTION: If you have used all the available turns listed on the chart and still have more hose to install, then the reel is not properly sized and you will need a larger reel or spring. Do not try to install the remaining hose. It could cause damage to the spring.
3. Put a stop on it
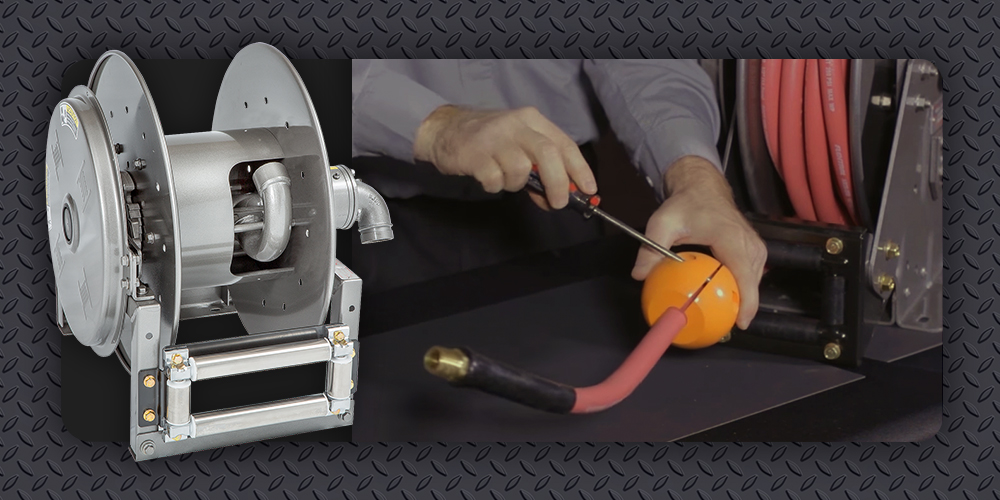
To install the hose stop, pull out a portion of the hose and engage the lock.
First, you’re going to loosely install the hose stop with your Philips head screwdriver. It’s important to time the hose stop with the spool. When the hose stop is against the roller, you want the lock assembly to be in a neutral position. You’ll know it’s in a neutral position when the locking ratchet pawl on the front is not engaged with a tooth.
Once you find your sweet spot, you can tighten the stop down.
And you’re done! Feel free to put the quick-connect on whatever fitting is needed for your application and get to work!
For complete installation information, please visit the “Install Hose or Cable on a Retractable Reel – Official Installation Guide” link below.
Other Helpful Resources
For more information please check out the links below:
Install Hose or Cable on a Retractable Reel – Official Installation Guide
More Maintenance and Installation Guides
Share This
Industries: General Education
Applications: General Education
Industries
- All
- Agriculture
- Communications
- Construction
- Fire and Rescue
- Food and Beverage Processing
- Fuel Delivery
- Government and Military
- Grounds Maintenance
- Industrial
- Land and Offshore Drilling
- Maritime
- Mining
- Power Generation and Testing
- Sewer and Waste
- Transportation
- Utilities
- Welding
- Work Truck
- General Education
Applications
- All
- Air and Pneumatic Tools
- Audio, Video and Fiber Optic
- Booster Hose (Fire Protection)
- Breathing Air
- Cable Storage Only (Not Live)
- Chemical and Corrosive
- Electric Cord
- Fire Rescue Utility or Breathing Air
- Fire and Rescue Electric Cord
- Fire and Rescue Hydraulic Tools
- Flat Hose (Fire Protection)
- Food-Grade & Beverage-Grade
- Fuel (DEF)
- Fuel (LP Gas)
- Fuel (Petroleum, Gas, Diesel)
- Grounding (Static)
- Grounding (Utility)
- Hose Storage Only (No Fluid Path)
- Hydraulic Tools
- Jetting and Water Blasting
- Lawn Care, Spray and Pest Control
- Lubrication and Grease
- Pressure Wash and Washdown
- Soft Wash
- Vacuum and Suction
- Water Supply
- Welding (Arc)
- Welding (Gas)
- General Education